Create an EJBCA Issuer
To configure certdog to be able to request certificates from EJBCA, the following is required:
- The Web Service option is enabled in EJBCA
- You can check this from Admin Web. Choose System Configuration then click the Protocol Configuration tab. the Web Service option should be Enabled
- A User KeyStore
- This is an end-entity certificate issued from EJBCA’s current ManagementCA that is configured to have access to the RA administrative functions
- This is the certificate that certdog will use to authenticate to the EJBCA RA. You must obtain this as a JKS (Java Key Store) file from EJBCA
- A certificate profile must be configured to allow Subject DN Override by CSR and Allow Extension Override. See EJBCA - Sample TLS Certificate Profile fore more details
- An end-entity profile must be configured with no subject DN attributes and set to allow User Generated tokens. See EJBCA - Sample End Entity Profile for more details
1. Obtaining the User KeyStore
If you are already familiar with EJBCA and issuing certificates for administrator access, skip this section and just ensure that you obtain a password protected JKS with a certificate that has RA Administration privileges
There are several ways in which this can be obtained e.g. via the Admin Web console, the RA (Registration Authority) console or the CLI (Command Line Interface). The following details the RA process
Log on to the RA console
Click Enroll and select Make New Request
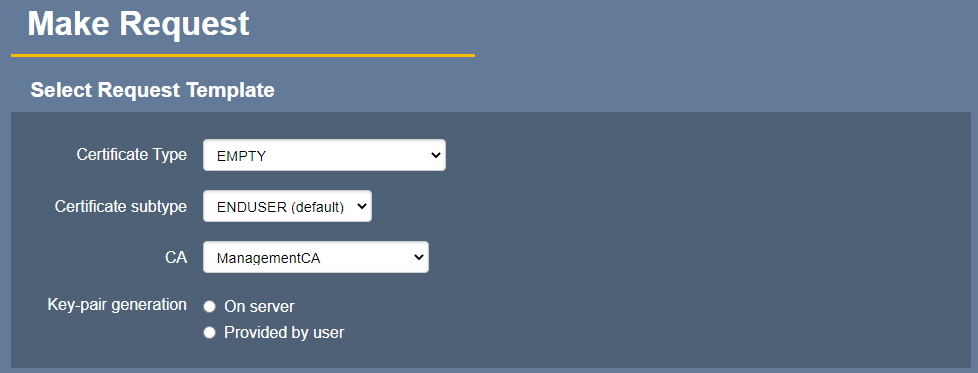
The above shows some initial default settings, but there may be specific certificate and end-user profiles configured for this purpose (that limit available options)
For Key-pair generation, select On server
Choose an algorithm. Note: With the default profiles, you have access to all algorithms, if unsure which to choose, consult with your security personnel, though RSA 2048 bits is a common choice
For the Subject DN Attributes, enter a common name e.g. certdog and scroll down
In the Provide User Credentials section, enter a username and for Enrollment code - just enter a password
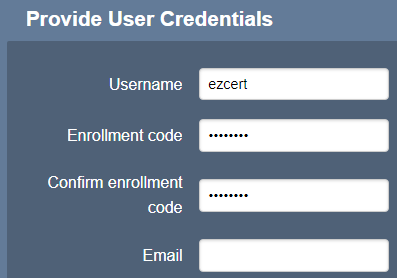
You can leave Email empty
Scroll down to the Confirm request section and click Download JKS
Save this file and retain the username and password (Enrollment code) entered above - these are required for the certdog configuration
2. Set Administrator Permissions
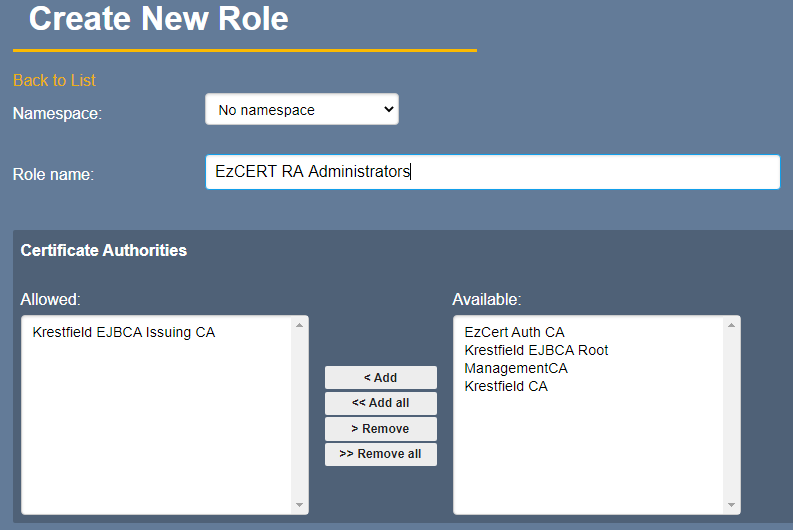
From the RA, select Role Management and click Roles. If you have already configured a role which only allows RA administrator access you may use this, otherwise, click Create New Role
For the Role name, enter a name for this role e.g. Certdog RA Administrators
For the Certificate Authorities, add those that you wish to issue certificates from certdog
Select all End Entity permissions
For End Entity Profiles, add those profiles that you want to be applied for certificates issued from certdog. See the EJBCA - Sample End Entity Profile for an example
Click Add
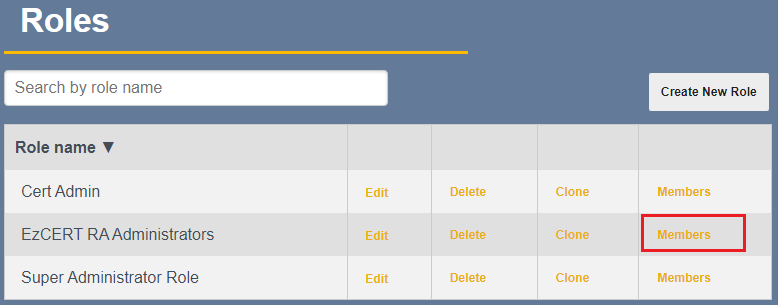
From the list, click Members

Just click Add Role Member
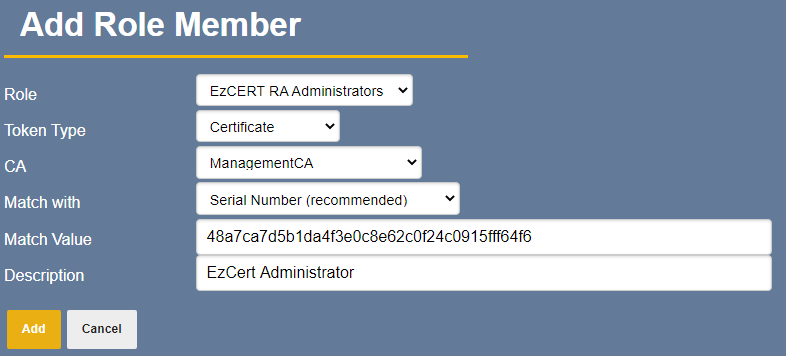
For CA, select ManagementCA, select Match with Serial Number (recommended) then paste in the certificate serial number in the Match Value and click Add. This is the serial number of the certificate created in step 1 above
Note: You can obtain this serial number by choosing Search in the RA, then click Certificates and type the certificate name (e.g. certdog). Copy the serial number and paste into the Match Value above
From the administrative console (/adminweb), under System Functions, select Administrator Roles
Locate the role (e.g. Certdog RA Administrators) and select Access Rules
For the Role Template, ensure it says RA Administrators, select it if not. Check CAs selected are as required and click Save
3. Certificate Profile
Whichever profiles you wish to use with certdog - you must check the Allow Subject DN Override by CSR and Allow Extension Override options. For details on how to configure a sample profile for TLS, see EJBCA - Sample TLS Certificate Profile
4. End Entity Profile
It is recommended that a new End Entity profile be created for certdog. Ensure that under the Main certificate data section, the User Generated option is selected in Available Tokens. This is because certdog will be generating the CSRs (or they will be provided)
For an example on setting up an end-entity profile, see EJBCA - Sample End Entity Profile
certdog Configuration
Before starting this, ensure you have the following:
- The Web Services URL
- This will be in this form: https://hostname/ejbca/ejbcaws/ejbcaws
- Note that the ejbcaws part is repeated
- E.g. https://ejbca.org.local/ejbca/ejbcaws/ejbcaws
- This will be in this form: https://hostname/ejbca/ejbcaws/ejbcaws
- The user JKS file and its password
- As created in step 1 above
- The name of the CA you wish to issue certificates from e.g. Certdog Issuing CA
-
The name of the Certificate profile you wish to configure
-
The name of the End Entity profile you wish to configure
- If an un-trusted TLS certificate is used to protect the RA Web Services URL, you will also need to download the JKS for the CA that issued this certificate - this will be the Trust KeyStore
- This can be obtained by navigating to the RA Web, selecting CA Certificates and CRLs from the top menu then downloading the Certificate chain as JKS for the CA. You will need to provide a password that will protect this JKS - this will be required in the configuration below.
Set Credentials
First we need to set some credentials. Credentials are password stores that are then referenced by a name. We will need one for the User KeyStore (JKS file) and optionally, one for the Trust KeyStore
From the certdog menu, select Credentials and select Add New Credential
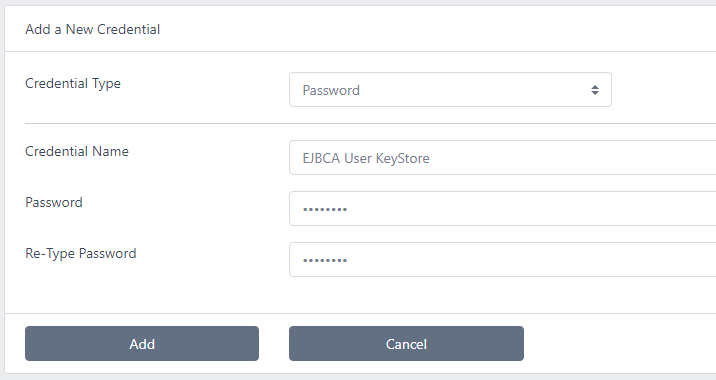
For Credential Type, select Password
Choose a name then enter the password. Note for the User KeyStore, this password will be the one you set in step 1 above when enrolling for the certificate
Click Add
If required, create another credential for the Trust KeyStore (i.e. the keystore downloaded from the CA). This default password for this keystore will be displayed by EJBCA when you download
Configure EJBCA Issuer
From the certdog menu, select Certificate Issuers and select Add New Issuer
For the CA Type, select PrimeKey EJBCA and click Next
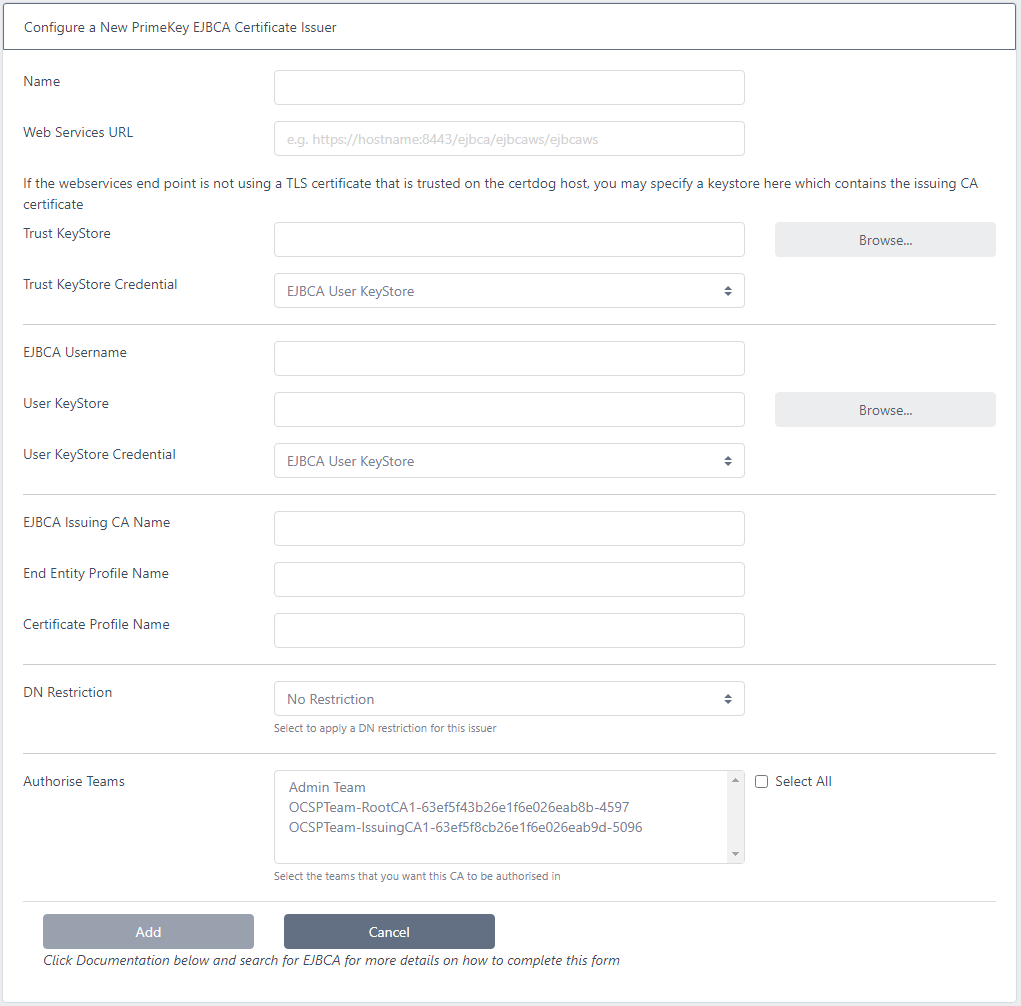
Enter the details as follows:
- Name: This is the name you will refer to this issuer, it has nothing to do with what has been configured in EJBCA and can be a name of your choice
- Web Services URL: The EJBCA Web Services end point. E.g. https://hostname/ejbca/ejbcaws/ejbcaws
- Trust KeyStore: Only required if the certdog system does not already trust the TLS certificate protecting the EJBCA end point. If required, browse to the JKS file downloaded from the RA Web.
- Trust KeyStore Credential: Select the credential created in Set Credentials section above
- EJBCA Username: Enter the username from step 1 above. I.e. the username of the end-entity
- User KeyStore: Browse to the User KeyStore created in step 1
- User KeyStore Credential: Select the credential created in the Set Credentials section above
- EJBCA Issuing CA Name: This is the name of the CA configured in EJBCA that you wish to issue certificates from
- End Entity Profile Name: The name of the end entity profile. See step 4 above.
- Certificate Profile Name The name of the certificate profile. See step 3 above.
- DN Restriction: If you wish to restrict the DNs from certdog (this can also be done from EJBCA), select the DN Restriction here
- Authorise Teams: Finally, select the Team(s) whose members will have access to this issuer
Click Add
If all is correct you will get a success confirmation. If any of the details or are incorrect you may get errors such as:

Receiving a 403 error often indicates hitting the wrong URL or wrong path.
This may be due to entering an incomplete URL. Note: although the EJBCA Admin page (under Protocol Configuration) shows /ejbca/ejbcaws indicating a URL such as
http://ejbca.krestfield.local/ejbca/ejbcaws
the full URL contains two ejbcaws entries. I.e.
http://ejbca.krestfield.local/ejbca/ejbcaws/ejbcaws
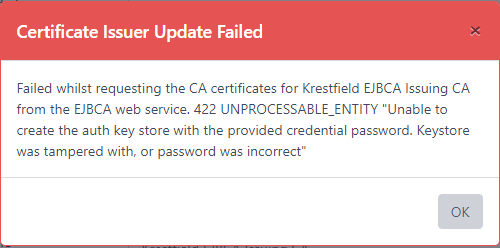
This error is most likely due to the User Key Store password being incorrect. Reset the password in the credential and try again
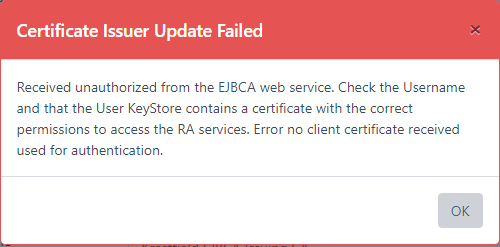
The most likely cause is that the certificate included in the User KeyStore does not have RA Administrative permissions. Go back to EJBCA and check the Administrator Roles
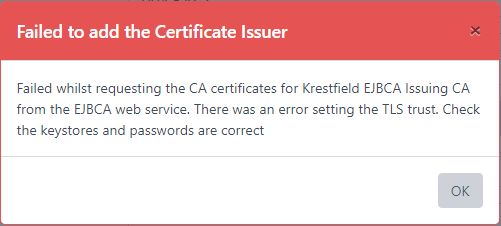
The Web Service URL is most likely protected with a TLS certificate that is not trusted. Identify the CA that issued the TLS certificate and download its certificate chain as a JKS - then upload as outlined above